


这篇教程是我从国外的PS教程里截取出来的。给大家翻译了一下。翻译有缺陷,请优图宝的朋友们给予指正!
先看效果。

 _ueditor_page_break_tag_
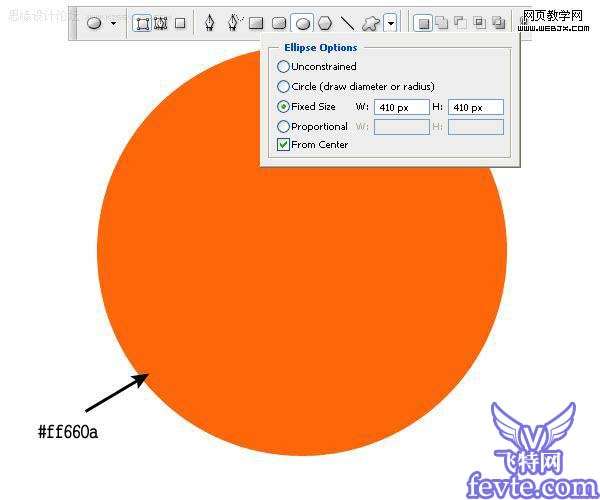
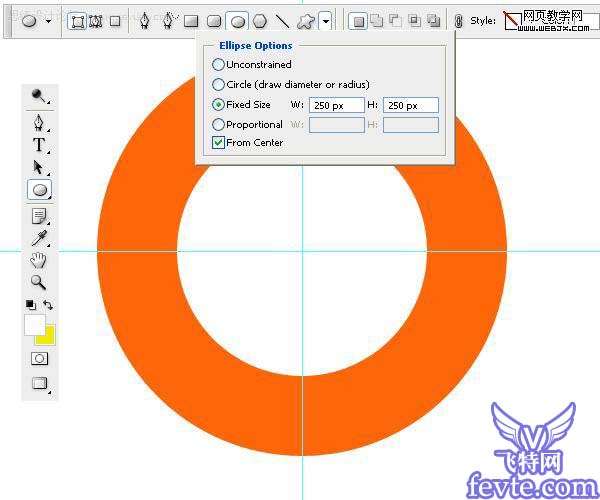
新建立图层,然后打开辅助线,然后用同样的方法绘制一个白色的圆。
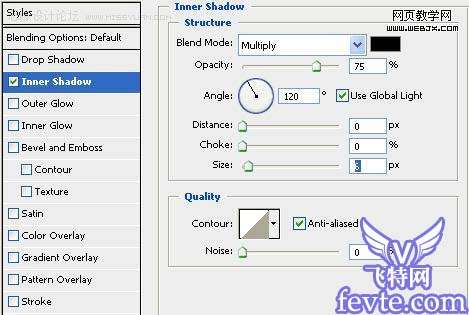
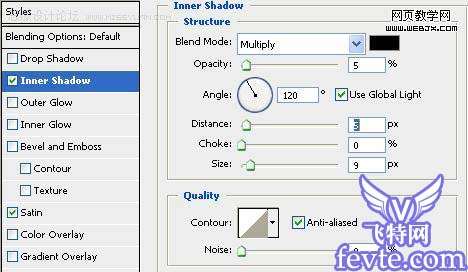
添加图层样式。
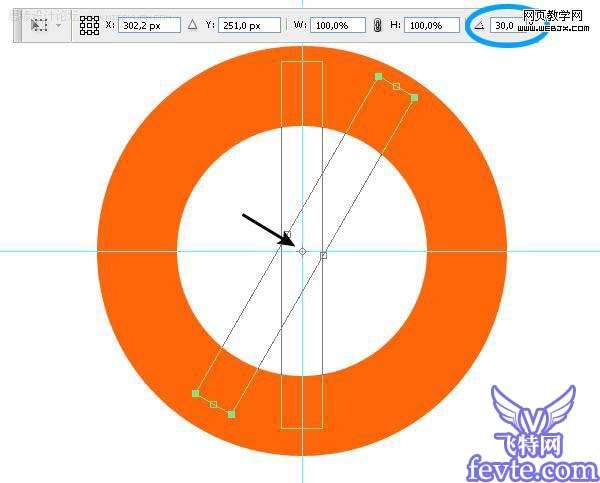
制作一些圆环,创建一个新图层然后使用矩形工具绘制一个矩形,然后复制粘贴,达到一个圈的效果,这里可以按CTRL+T变形,然后填充为白色。
 _ueditor_page_break_tag_
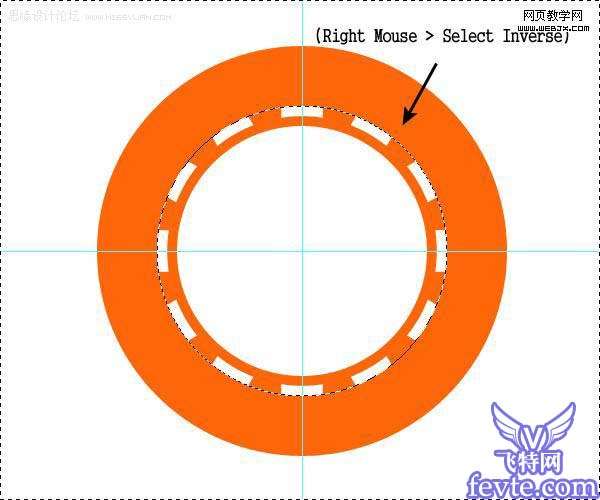
之后我圆形选区工具绘制一个选区。

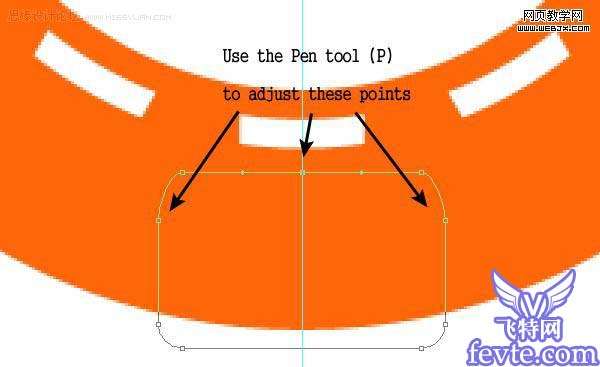
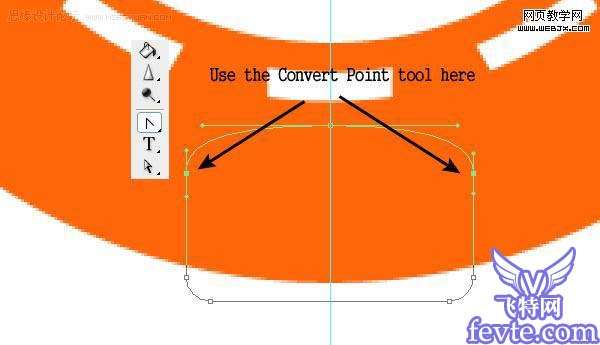
创建外部的圆环,我们使用圆角的矩形形状工具绘制如下。
 _ueditor_page_break_tag_
拷贝删除,达到如下效果。

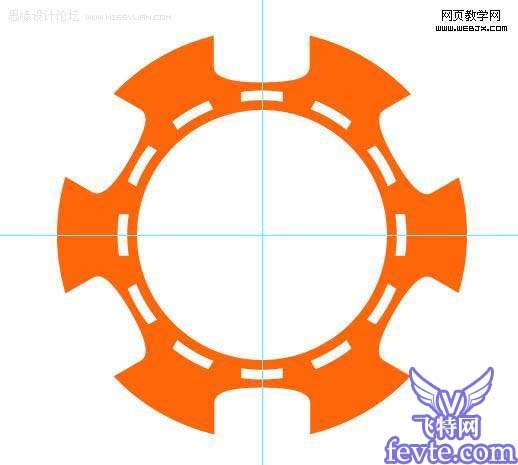
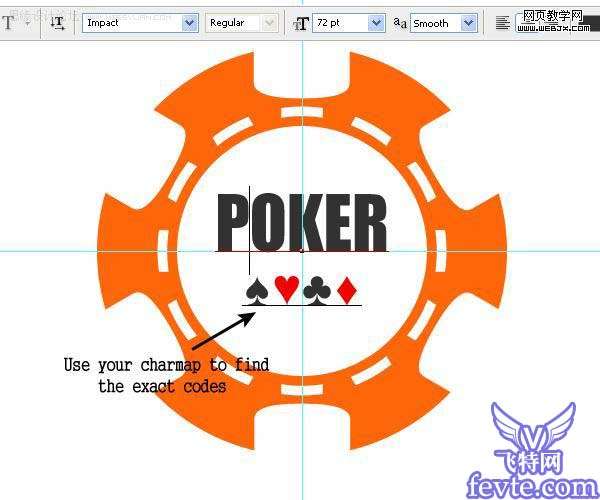
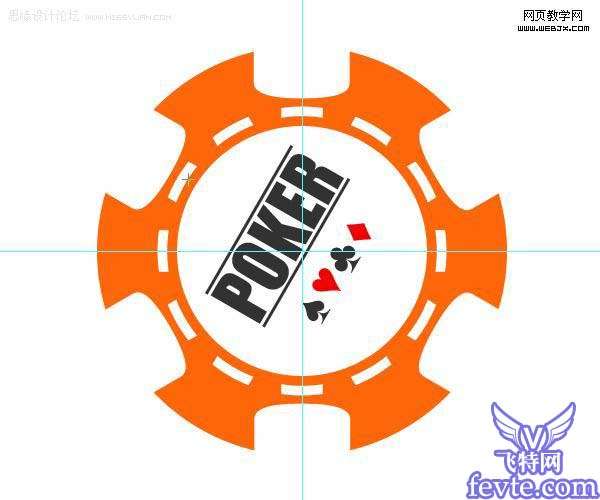
之后我们输入文字,然后翻转60度,效果如下。
 _ueditor_page_break_tag_
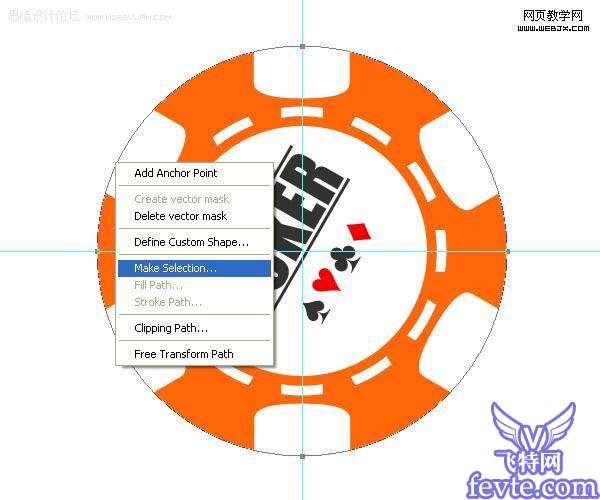
之后创建选区,然后合并,我们创建一个新的文档,然后粘贴过来。
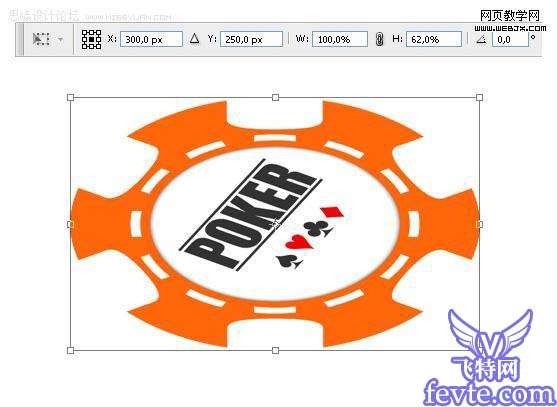
按CTRL+T变形。
添加图层样式。
 _ueditor_page_break_tag_
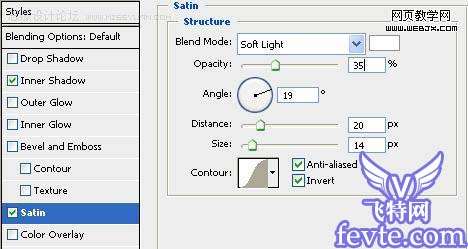
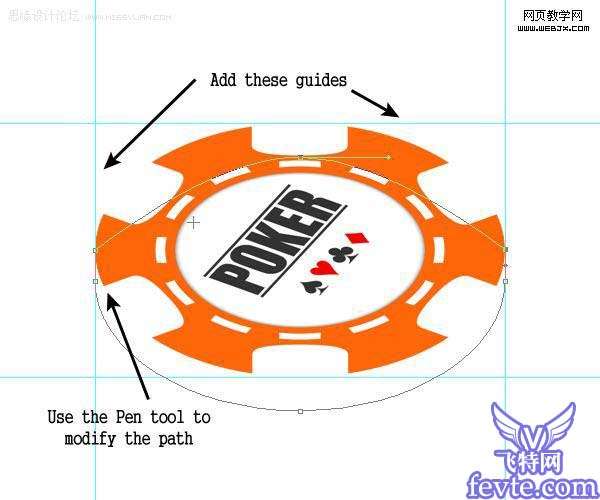
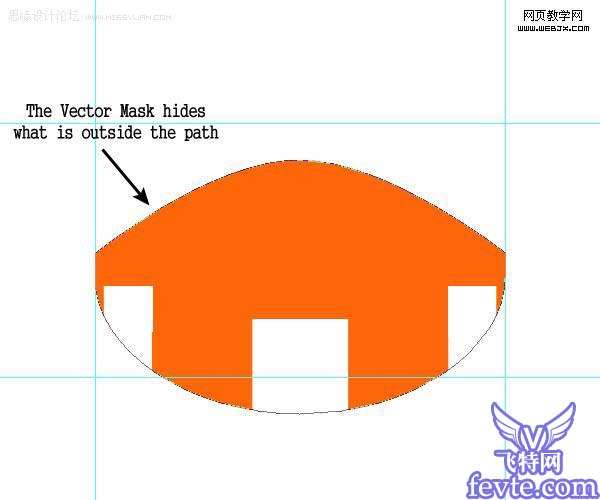
使用钢笔工具创建一个区域,然后右击创建矢量蒙版,然后用油漆桶工具设置正确的前景色,用矩形工具绘制一个白色的区域,效果如下。

 _ueditor_page_break_tag_
图层样式设置、

Step 9: Create the displacement
Create a new layer and using the Ellipse Path tool draw two ellipses over the dashed ring and set their fill opacity to 0%.

添加图层样式。

_ueditor_page_break_tag_
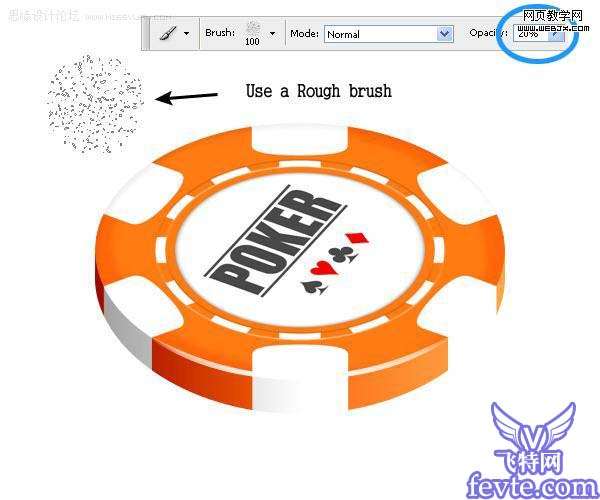
创建新图层,然后选择一个笔刷设置如下,开始绘制。
用选区工具选择删除外面的部分。
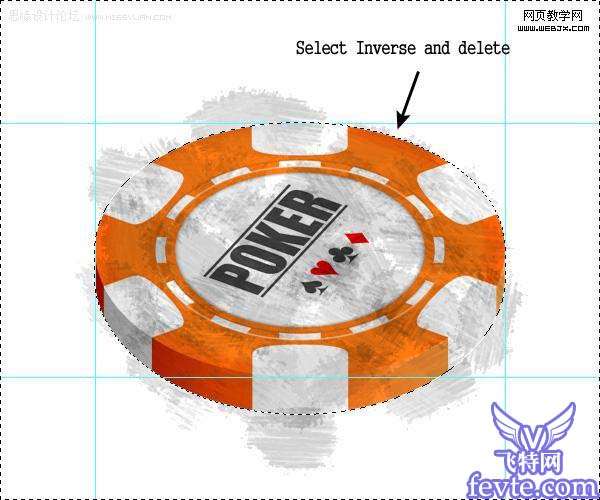
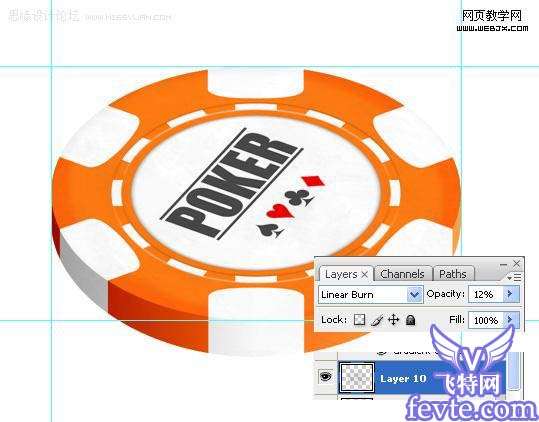
改变图层模式为线性加深,不透明度设置为12%,效果如下。
 _ueditor_page_break_tag_
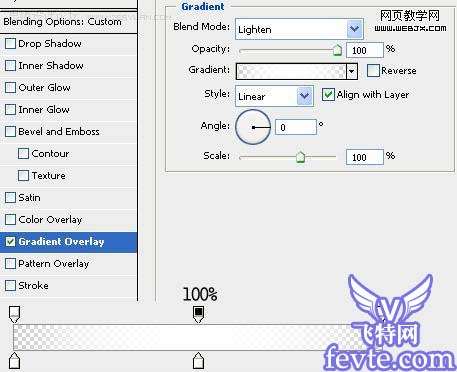
添加边缘的光线,我们新建图层,使用椭圆工具绘制然后透视变形,设置效果如下。

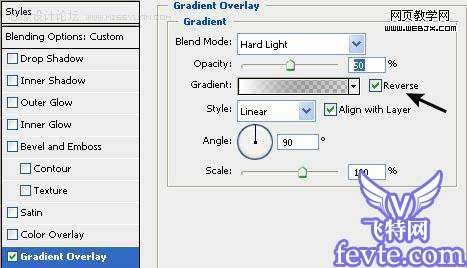
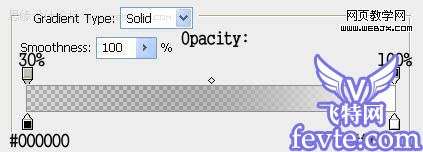
添加渐变叠加图层样式。
当然在制作过程中可以改变颜色,最终效果如下。