


这篇教程教优图宝的朋友们用AI绘制放大镜图标,教程属于比较基础的AI实例教程转发过来和优图宝的朋友们一起分享一下。先来看看最终的效果图:
Utobao编注:更多AI教程学习进入优图宝AI实例教程栏目:http://www.utobao.com/news/61.html
具体的制作步骤如下:
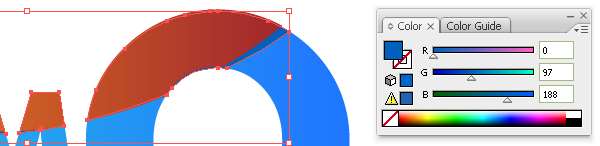
1. 新建文档,800*600px。输入一些文字,使用大一点的字号。我使用的是Futura字体。之后,应用“创建轮廓” (Shift + Ctrl + O)。然后文本应用渐变,如下图所示。(译者注:图示标错了,最高数值只有255,应该为R41 G199 B226差不多)
 Step 2
Grab the pen tool and draw a shape, as shown below. Copy (CTRL + C) the outlined text and paste in front (CTRL + F) of it. Select both paths and choose intersect shape areas from the pathfinder tool.
2. 使用钢笔工具绘制形状,如下图所示(译者注:图示的RGB标错了,哪来的347,晕,应为R247 G147 B40)。复制(Ctrl+C)轮廓文本,贴在前面。选择这2个路径,点“路径查找器”面板里的“与形状区域相交”,点“扩展”按钮。
 Step 3
Repeat step 2 to create a shadow using different color.
3. 重复第2步绘制阴影使用不同的颜色。
 Step 4
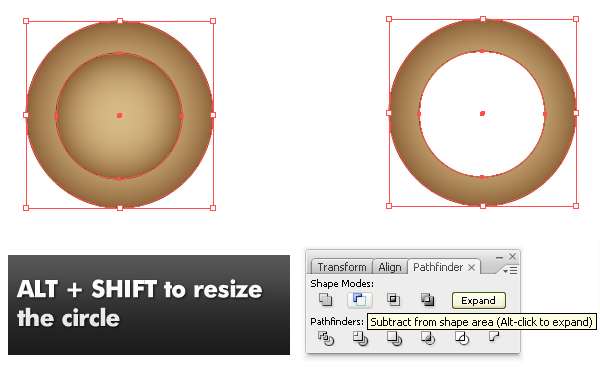
Grab the Ellipse tool and draw a circle. Copy the circle and paste in front. Then hold ALT + Shift and resize it. Select both of the circles and subtract from shape area using pathfinder. Then Expand it.
4. 使用椭圆工具绘制圆,复制圆,贴在前面。按住Alt+Shift键调整大小。选择这2个形状,使用“路径查找器”面板中“与形状区域相减”。然后“扩展”。
Position the donut shape and apply the color and stroke setting, as shown below.
5. 把同心圆放在合适的位置上,设置填色和描边,如下图所示。
 6. 使用圆角矩形工具,在画板上单击弹出对话框。创建150*50px,20px圆角半径的矩形。渐变填色如下图,我们使用之前的1px描边颜色。
 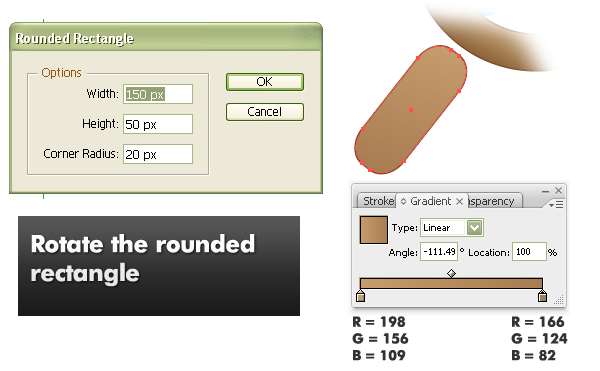 Step 7
Now, we need to add some shading. We can do this using the same technique we used to create the orange top area for the text in step 2. For area 1, we use a white to black gradient with a 57 ° angle. For area 2, we use the same gradient with a 253 ° angle. For area 3, we use a black color.
7. 现在我们需要添加一些阴影。我们可以使用第2步绘制文字顶部橙色区域的方法来做到。下图示1,我们使用白黑渐变,57 °角。图示2,我们使用同样的渐变,253 °角。图示3,使用黑色。 Step 8
Using the same technique, create something like a rubber or cloth band. Use a white color and a 0.5px stroke.
8. 使用同样的方法,绘制橡胶带。使用白色,0.5px描边。
 Step 10
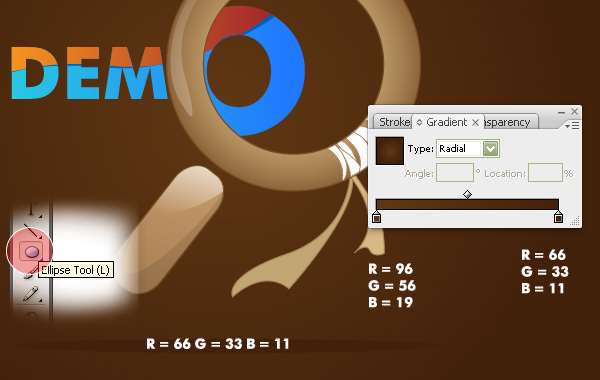 Step 11